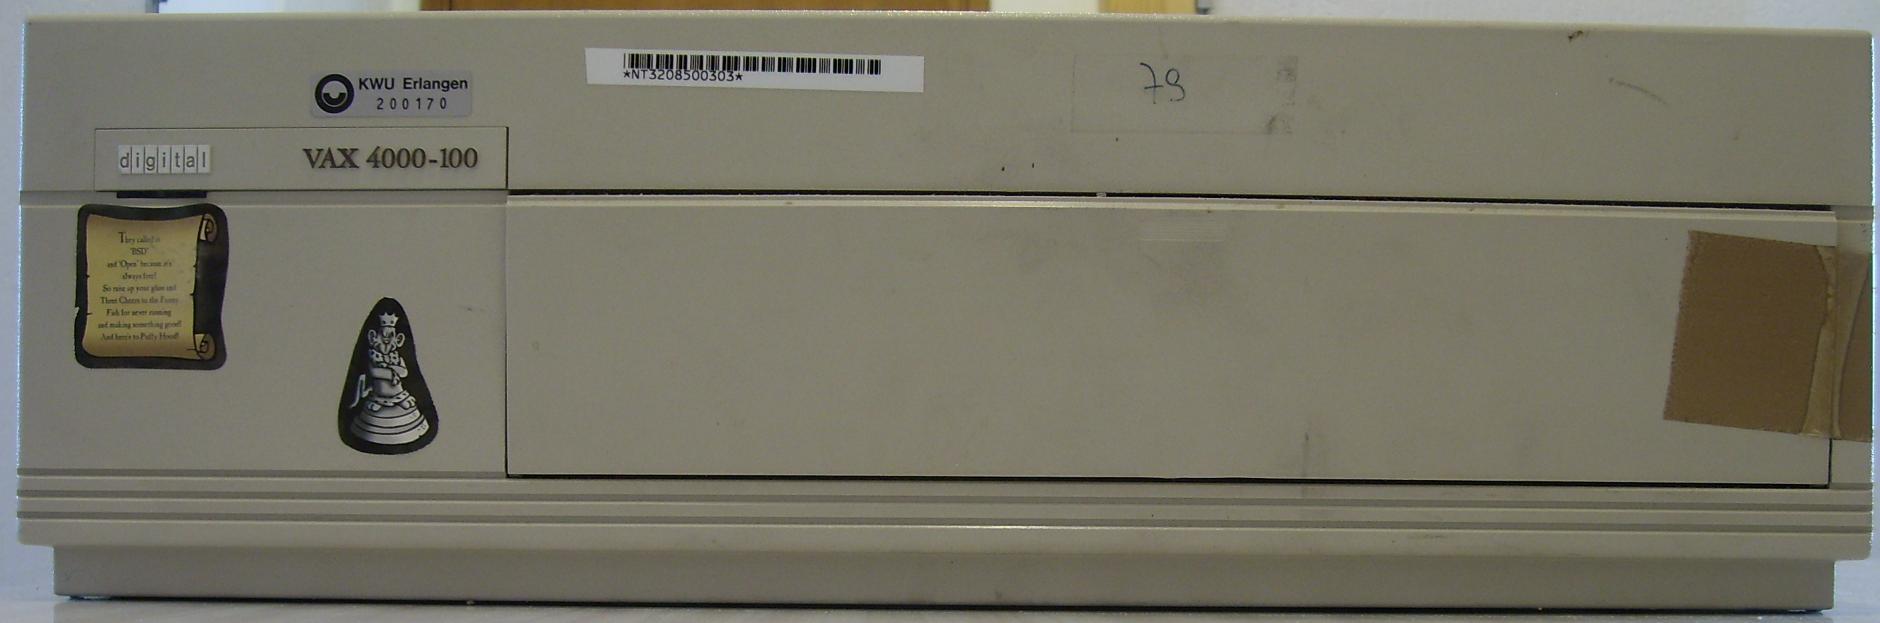
This machine is one of the fastest VAXen on earth.
I got it from a clearance sale on a Siemens site in Germany - the sale was
restricted to employees only, but I happened to know someone working there who
was kind enough to send me the list of what was being sold, with the prices. For
some reason, nobody but myself was interested in buying the vax machines...
From VAX 4000/100 to VAX 4000/106
This machine started life as a VAX 4000-100, as the badge says. This model
was sold by Digital as an ``Office Server System''. It was intended to replace
the VAX 4000-200, with better performance and a much smaller enclosure, yet
being able to connect to external Q-bus expansion cabinets. This model is also
quite odd, in that it has both SCSI and DSSI I/O busses. With a 72MHz processor
rated at 24 VUPs, this is a high-end VAX model.
But even though no external label shows it, this machine has been upgraded with a VAX 4000-106 motherboard, featuring a 100MHz CPU!
But even though no external label shows it, this machine has been upgraded with a VAX 4000-106 motherboard, featuring a 100MHz CPU!
Pictures
(Click on the pictures to get larger resolution images)
As you can guess, there is a large door at the front of the case, to allow
access to removable media devices, such as tape or CDROM drives. The plastic
part keeping it closed broke on mine, so there's a small tape keeping it
closed - I do not have such devices in the enclosure anyway.

Many connectors on the back! The bottom row connectors are, from left to right:
The column of large connectors is, from top to bottom:
- Three MMJ serial ports.
- An asynchronous modem control port.
- The reset button.
- A small switch selecting whether console is on the #3 MMJ port, or on the modem port.
- 8 diagnostic LEDs.
- 10base5 (AUI) and 10base2 (BNC) Ethernet connectors, with a switch to select which one is active.
The column of large connectors is, from top to bottom:
- Two Q-bus expansion connectors, to connect to an external Q-bus backplane.
- A HD50 DSSI connector.
- A Centronics SCSI-2 connector.
After removing the two screws at the back of the machine, the top and sides of
the case slide towards the front, and uncover this view.
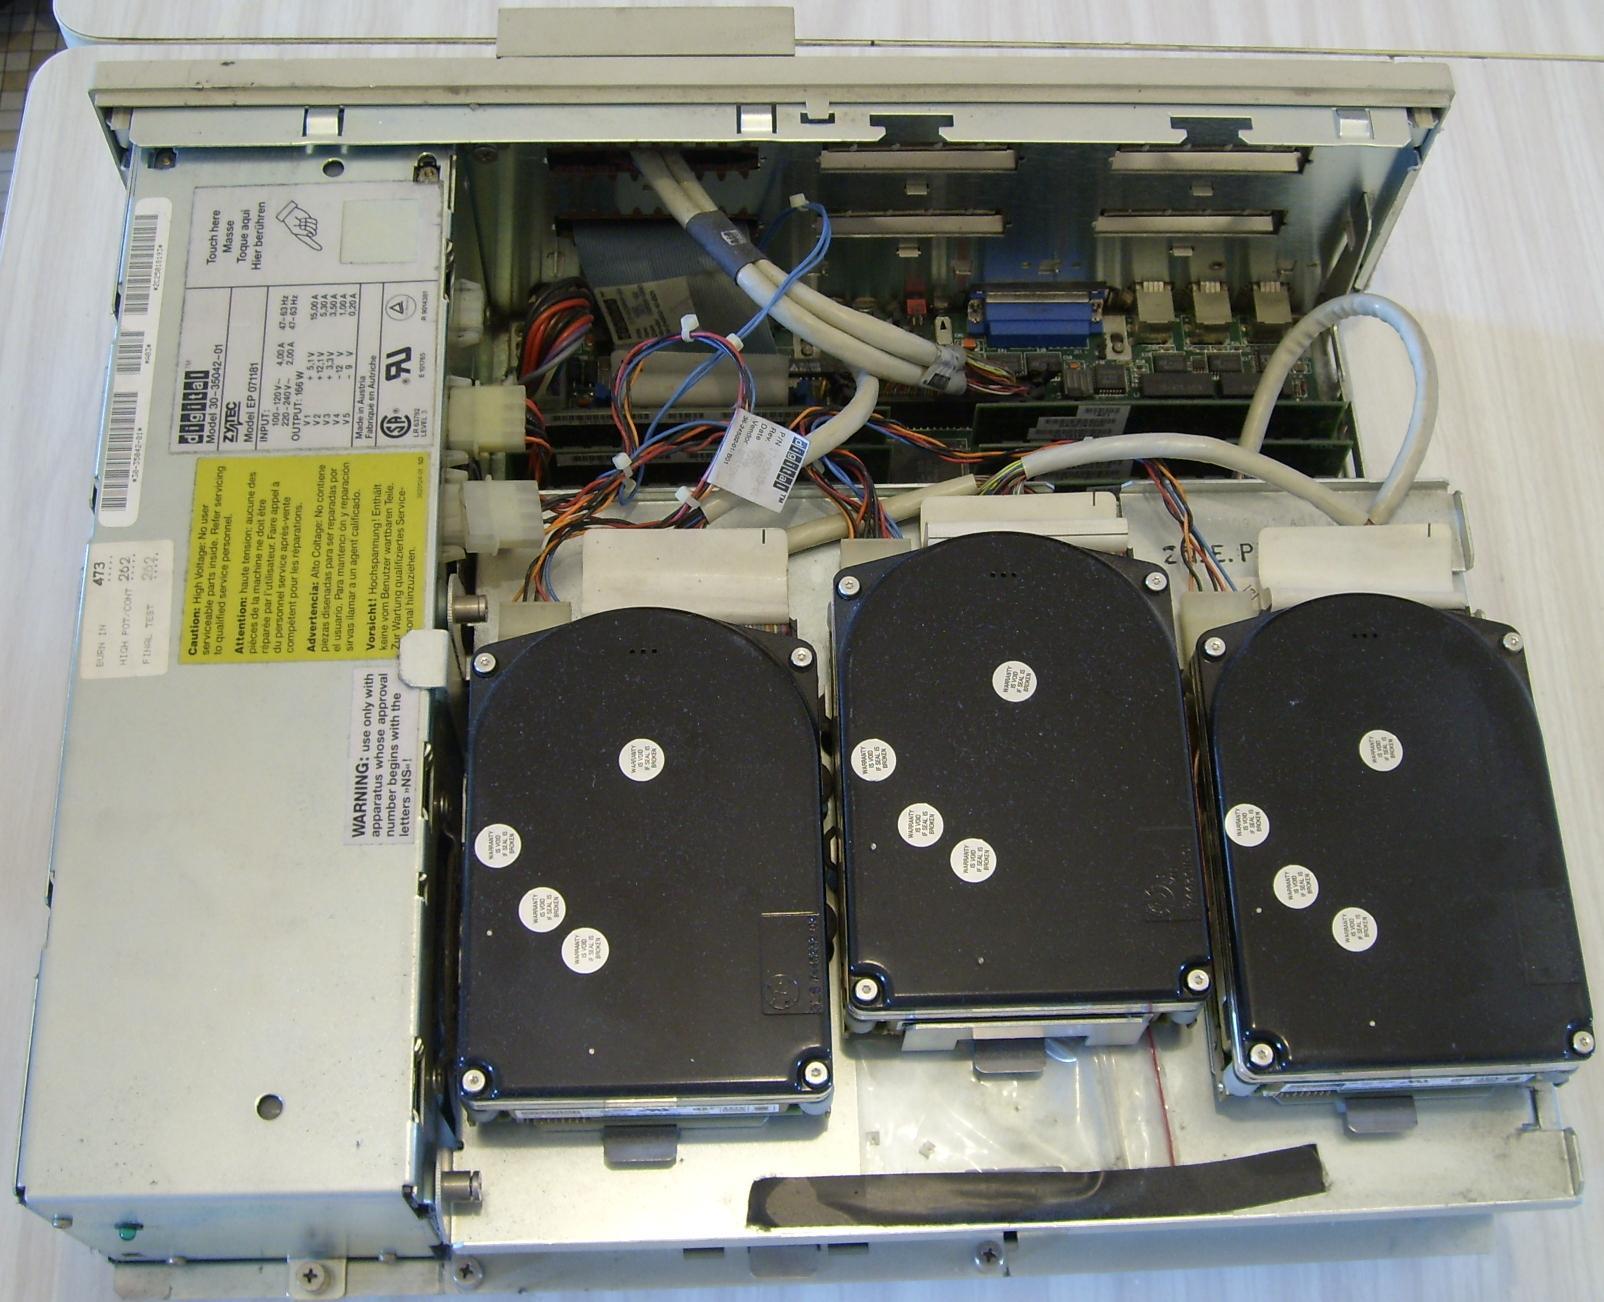
There are actually three layers of components to the left of the power supply.
This first layer holds three 3"1/2 DSSI disks. Remove their tray, and you get to
the second layer.
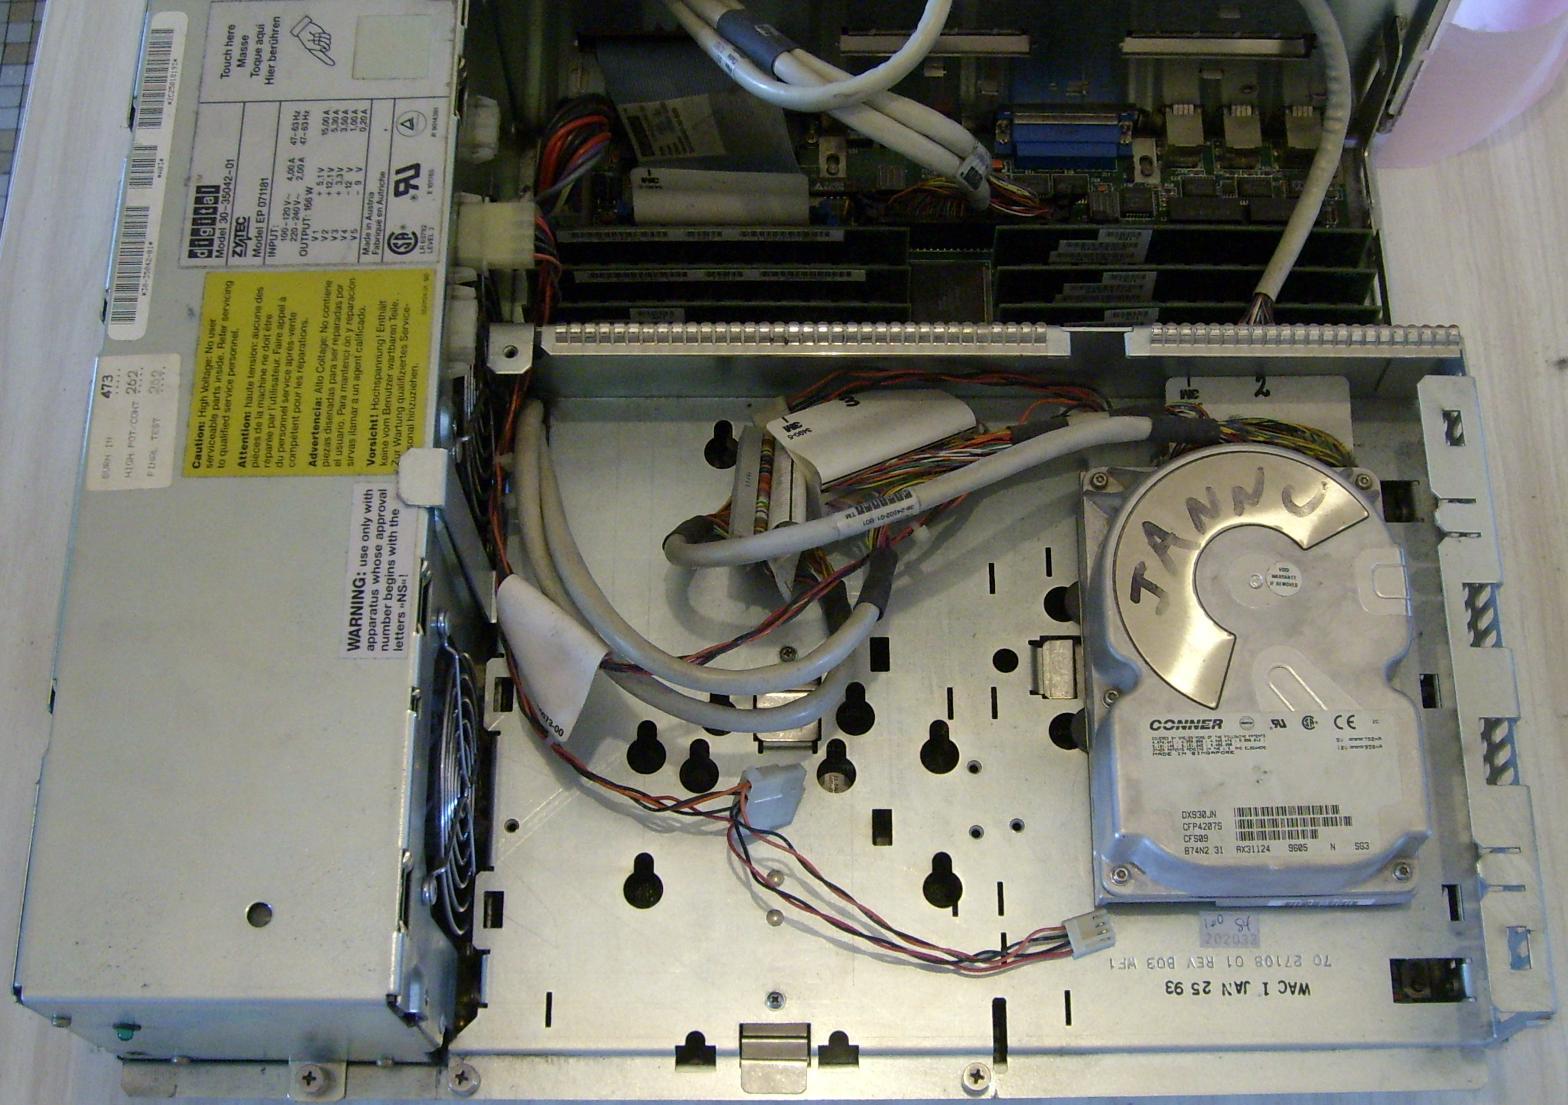
This is where the removable tape or CDROM drives would go. But one can also put
internal 3"1/2 SCSI disks, such as the 4GB disk on the right.
And with the SCSI tray removed, the motherboard finally appears!
And with the SCSI tray removed, the motherboard finally appears!
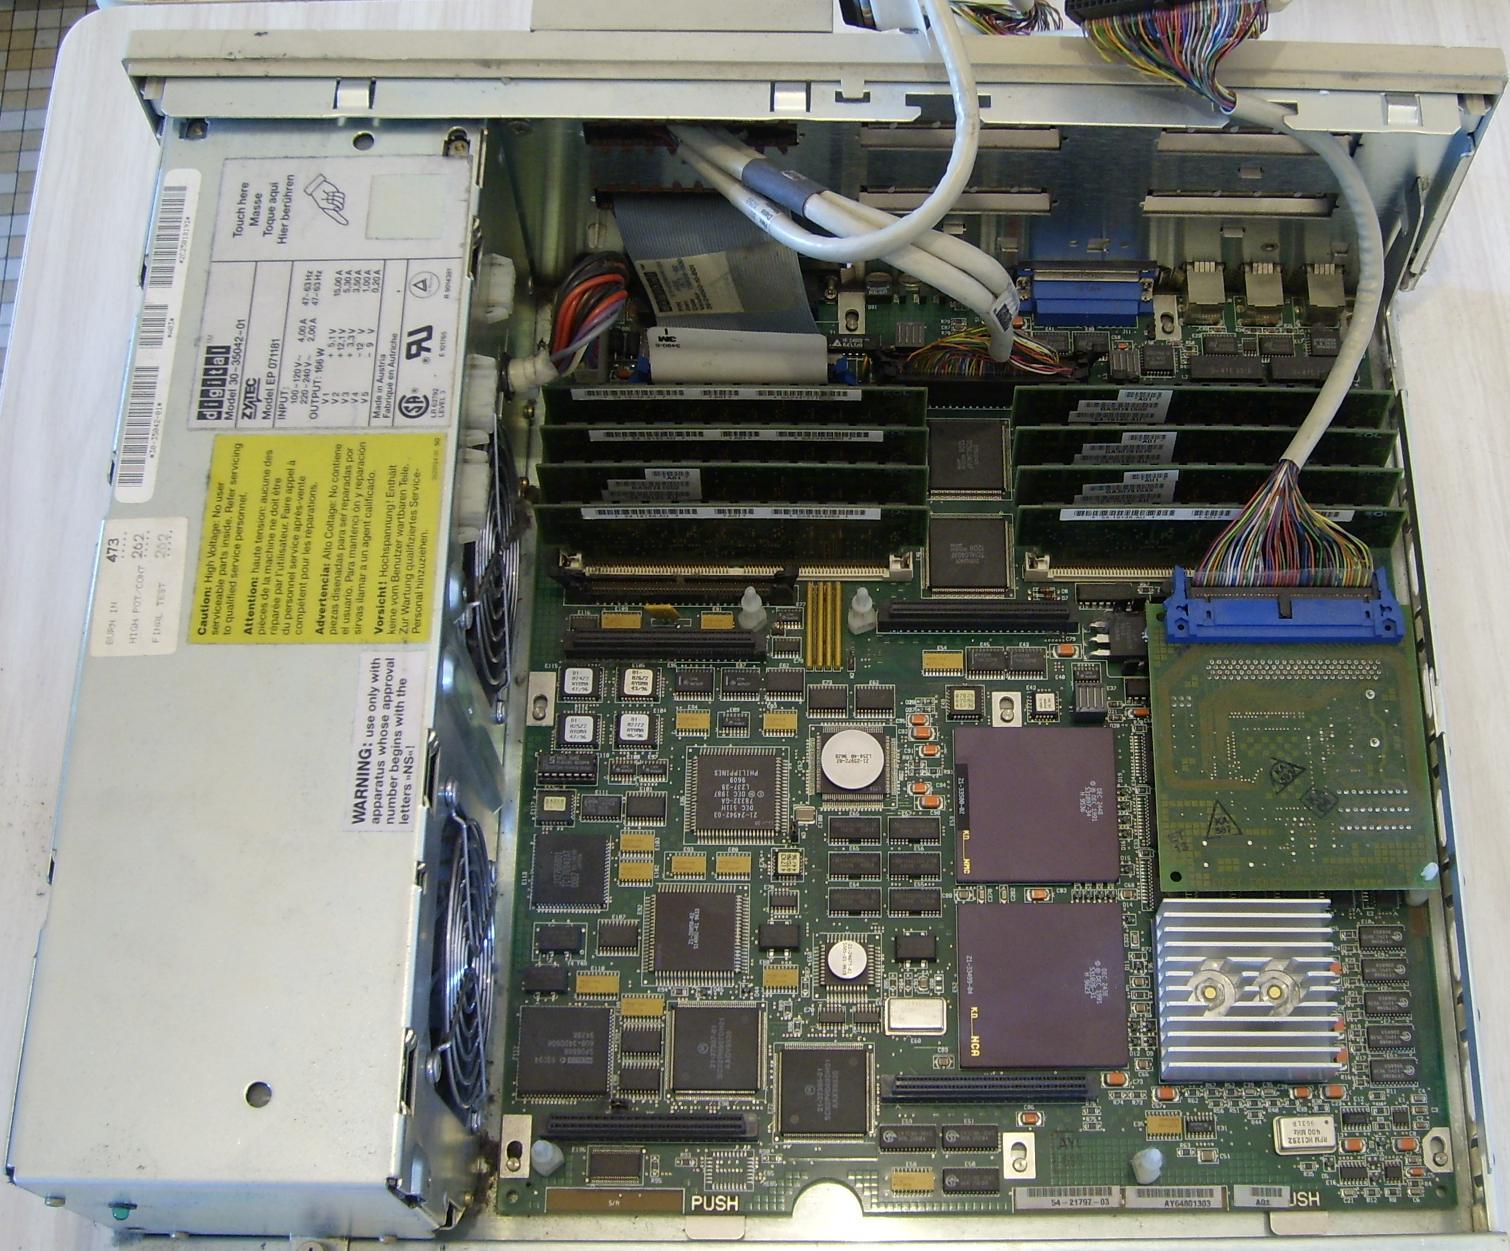
With all connectors unplugged, the logic board slides and can be extracted
from the case, for a better look.
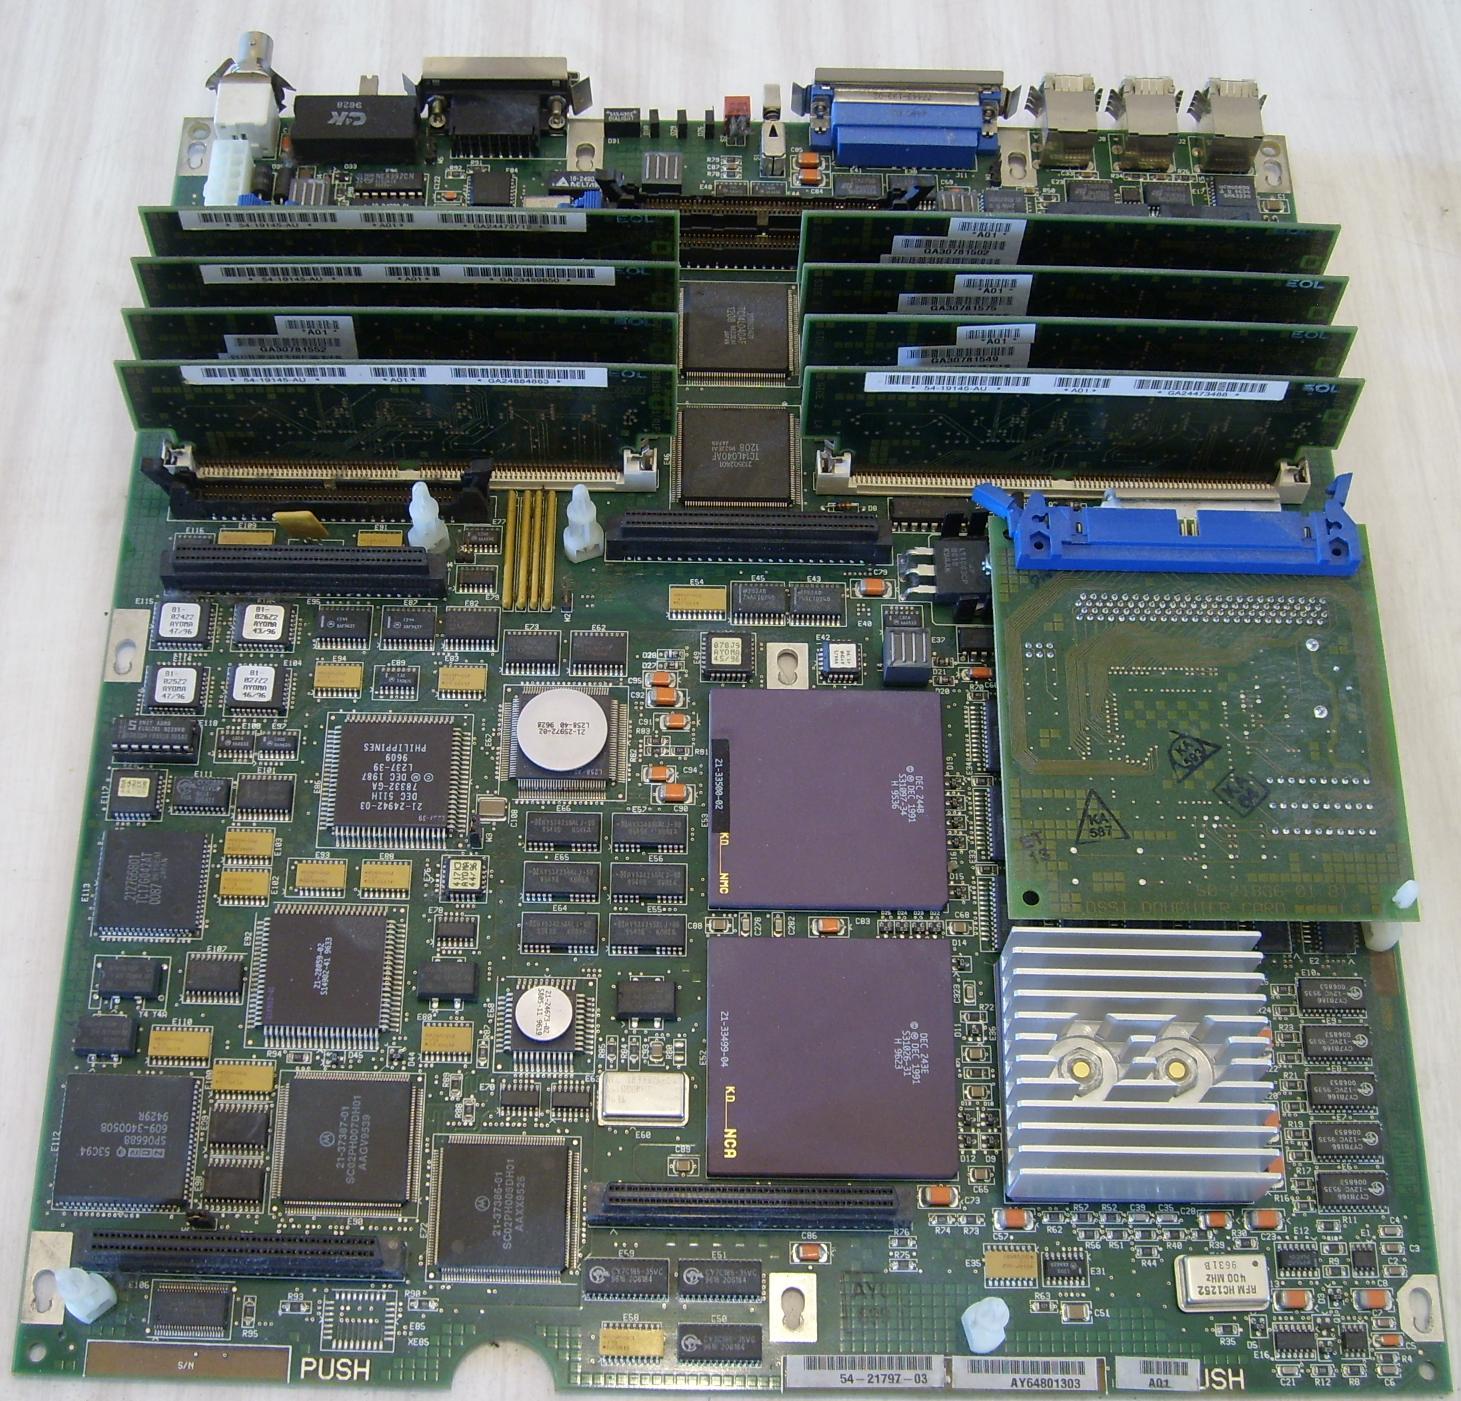
With the DSSI daughterboard and the memory sticks removed (8 4MB SIMMs, by the
way), here is what the naked board looks like.
Here is a closer look to the connectors. Under the memory slots, the black
connectors are:
Over the memory slots, the black male connector to the right is where the internal SCSI disks connect to, while the raised female connectors are where the DHW42 and DSW42 optional boards would plug.
- To the left, a connector for the DHW42 or DSW42 external connectors.
- Immediately right to it, a connector for the Q-bus external connectors.
- Immediately under it, another connector for DHW42 or DSW42 external connectors.
Over the memory slots, the black male connector to the right is where the internal SCSI disks connect to, while the raised female connectors are where the DHW42 and DSW42 optional boards would plug.
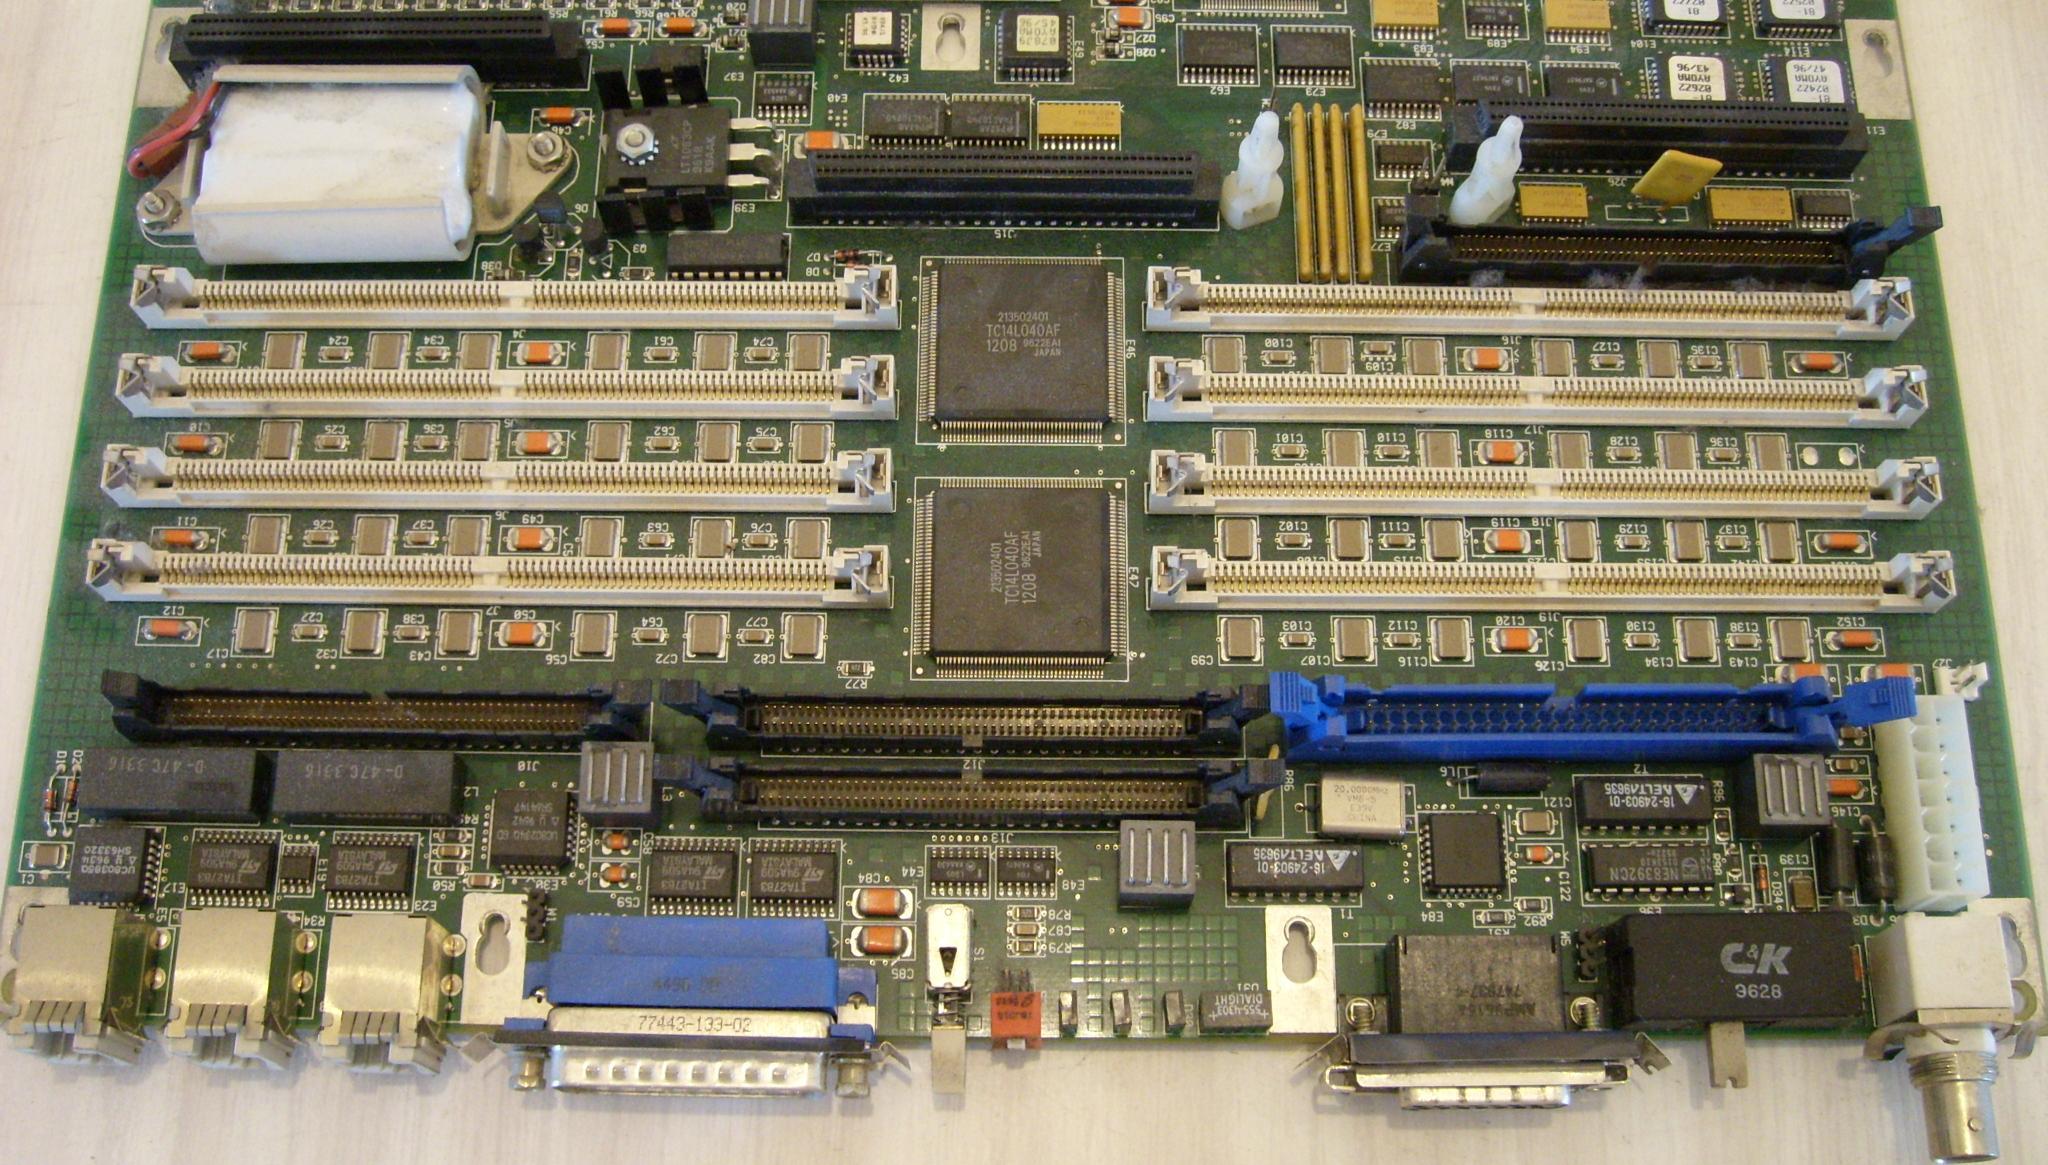
These are better seen on the other half of the logic board. If we split the
board in three columns, each DHW42 or DSW42
option would connect to two such raised connectors, either the two connectors
on the left column, or the two connectors on the middle column.
The single raised black connector on the right column is where the DSSI
daugtherboard plugs in. Here is a close up of it.

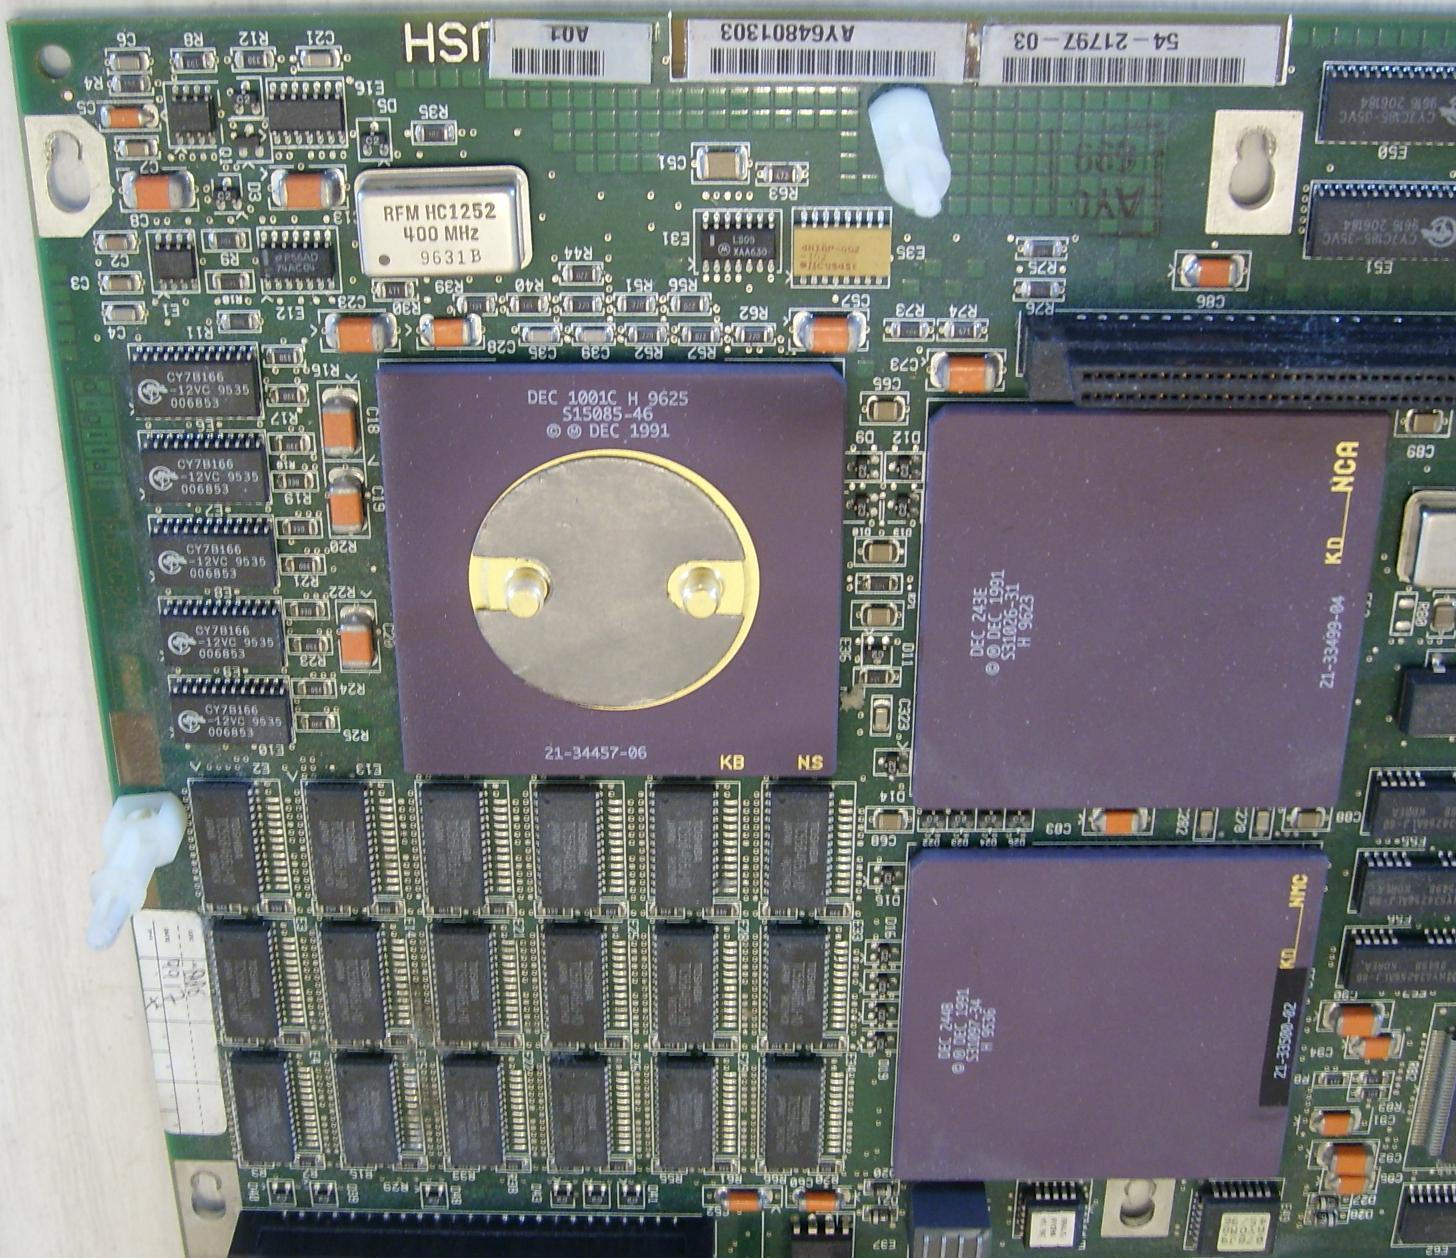
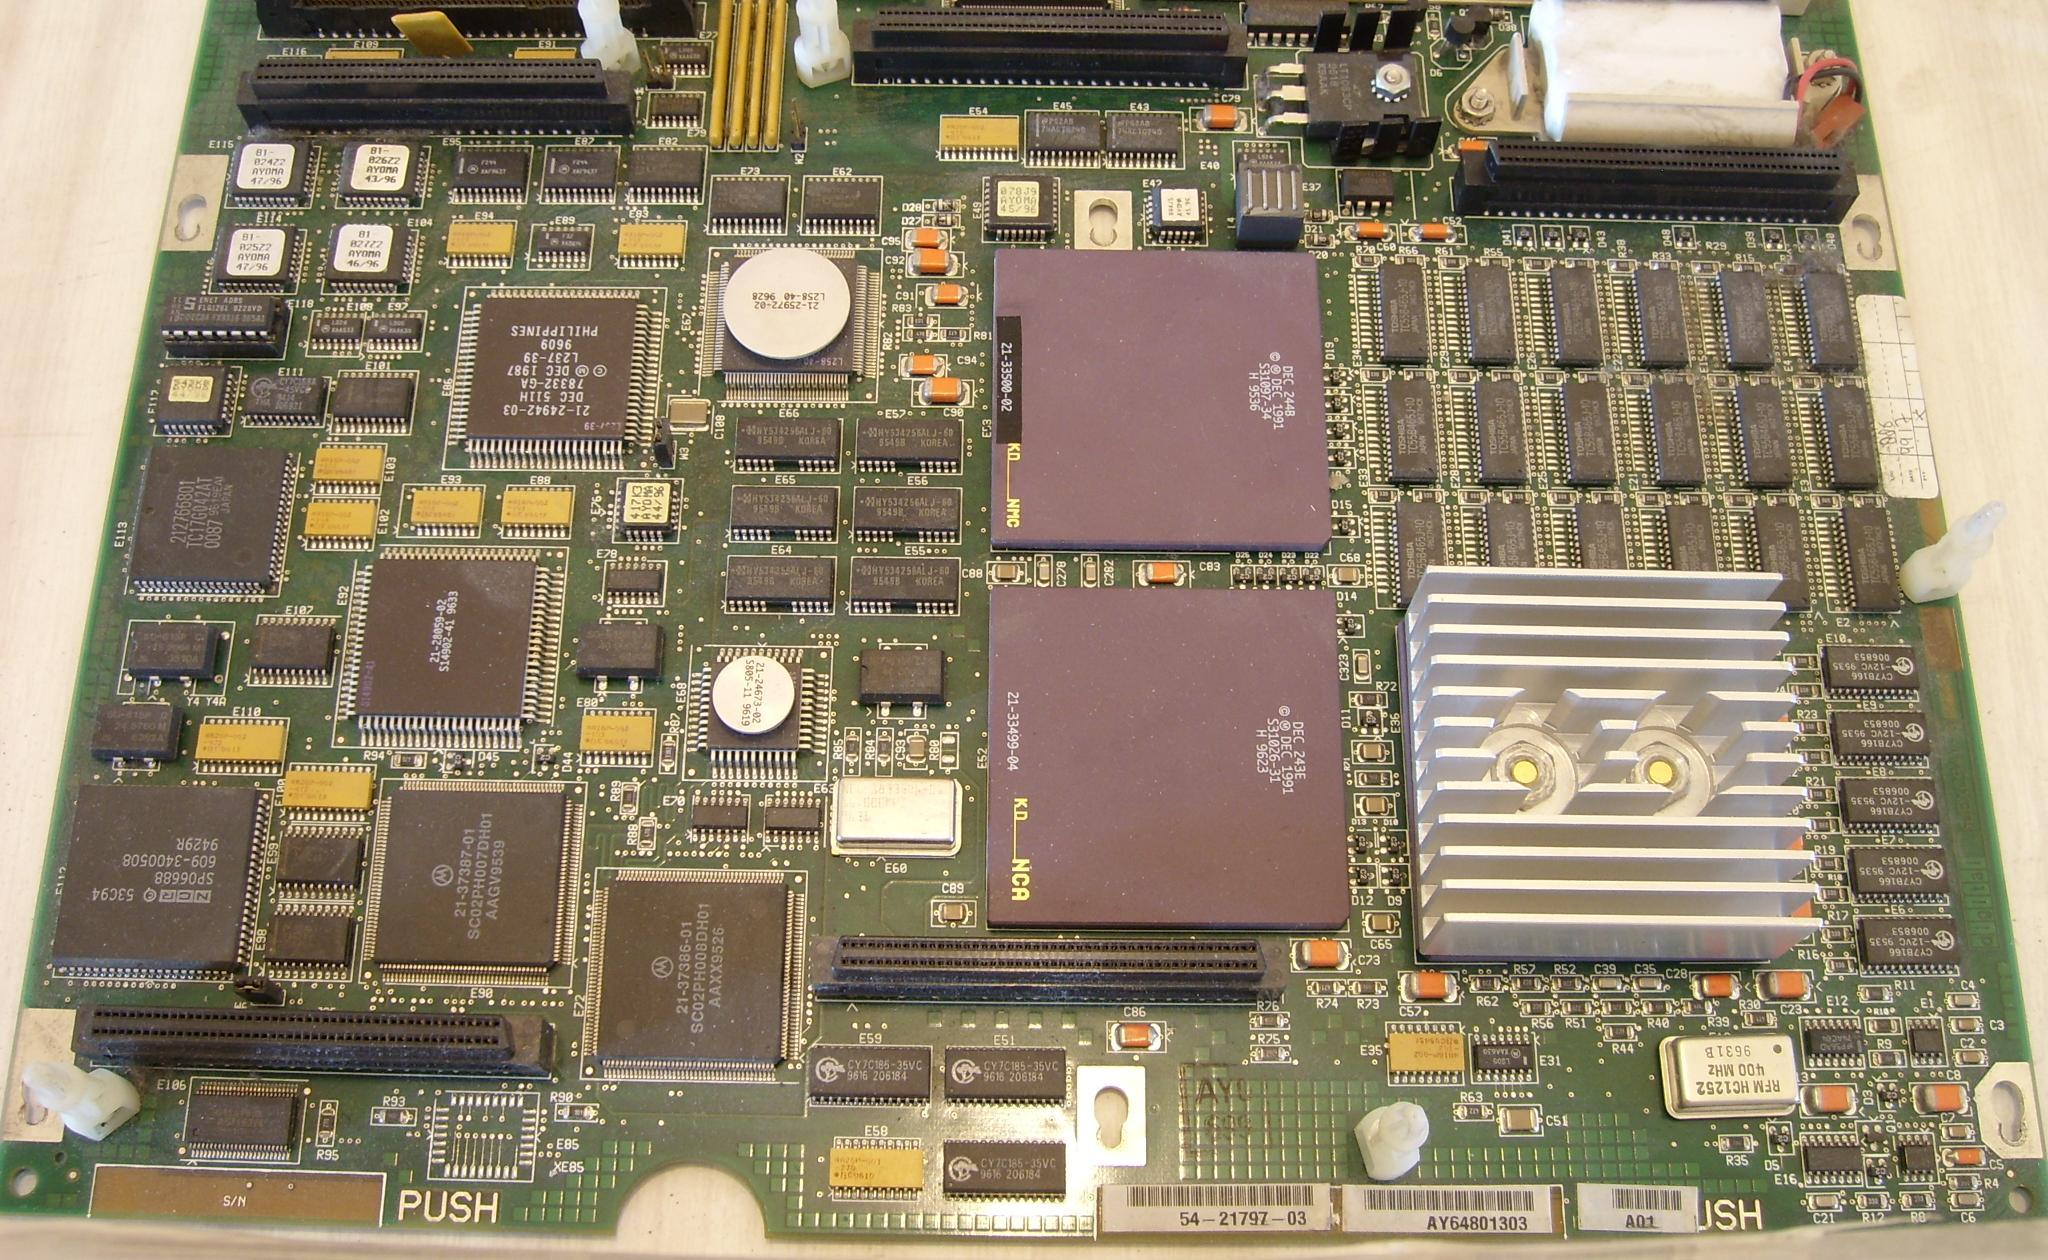
And to end this tour, here is what the CPU looks like with its heatsink removed.
The 400MHz crystal next to it proves this is a 100MHz model, hence a 106. Model
105 runs at 83.3MHz with a 333MHz main clock source, while model 100 runs at
almost 72MHz with a 286MHz clock source.